MAKEUP / EXPLORE & APPLY
Makeup styles: three ways to choose a focal point
A useful makeup look has a clear intention: a soft overall finish, a precise eye line or a stronger lip. Start with one and adjust its intensity before buying a whole new set of products.
The quick answer
For a soft look, keep edges diffused and coverage light where you want skin to show. For a graphic look, keep one crisp eye detail. For a lip-led look, let the lip carry more contrast. Any of these can be adapted across skin depths and face shapes.
01 / UNDERSTAND & TRY
Compare three complete directions
Compare a soft everyday finish, one graphic eye detail and lip-led contrast in these makeup photos. Try the emphasis you prefer and adapt the steps to your features and routine.
Soft everyday finish
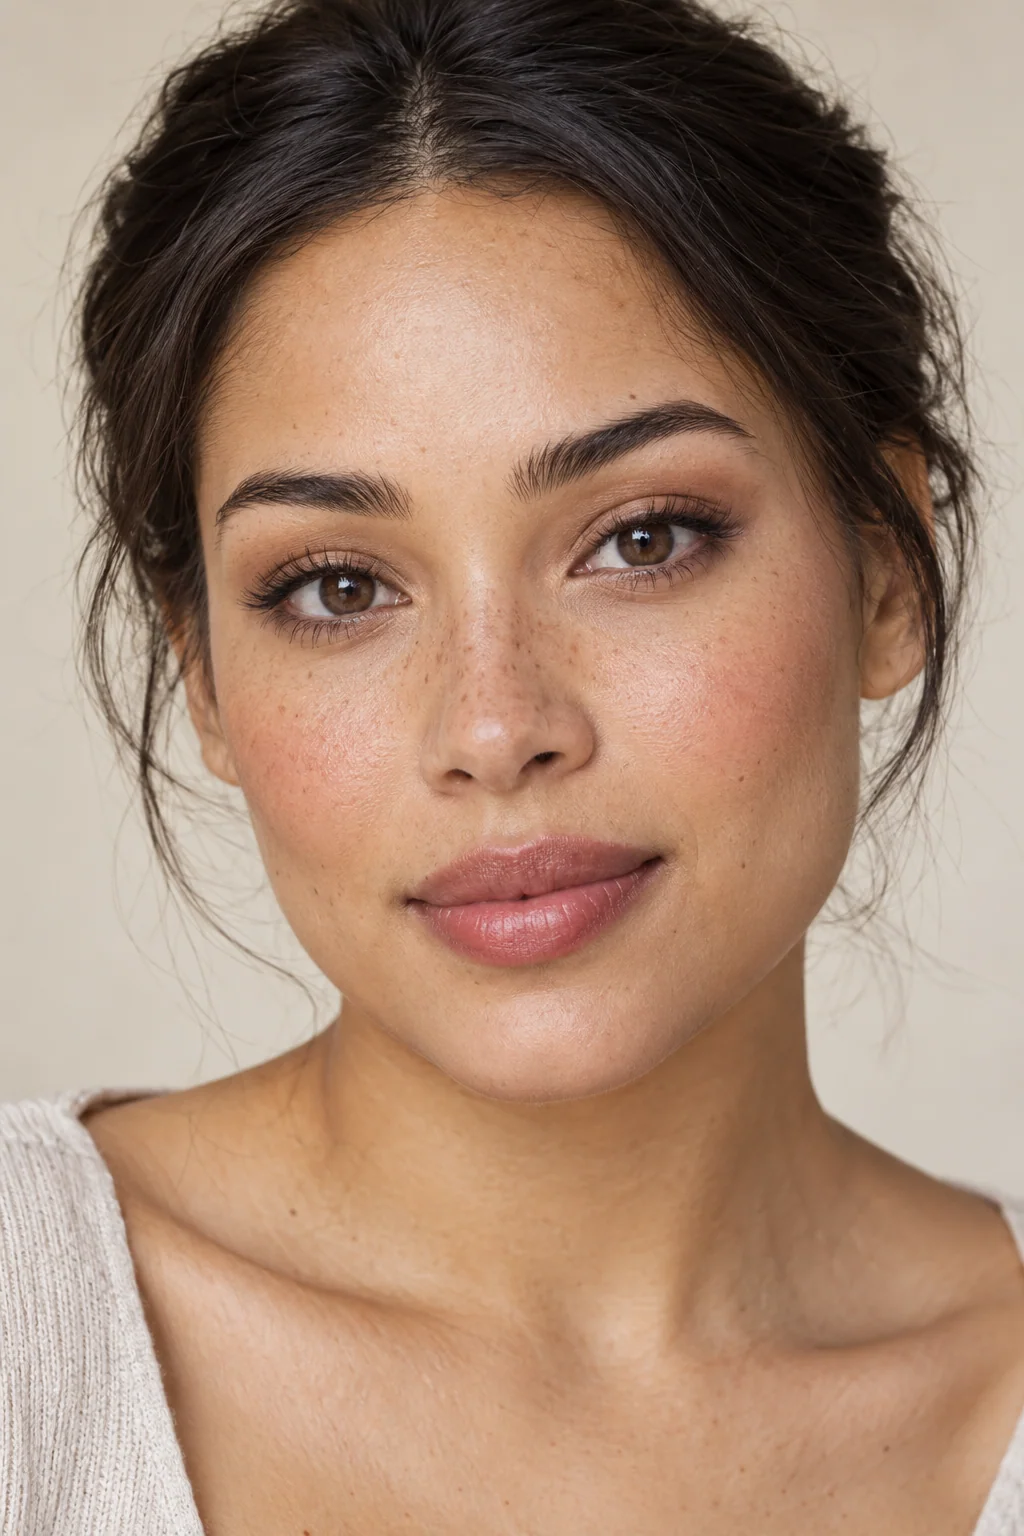
Use selective base coverage, brushed brows, a diffused taupe eye, sheer rose cheeks and a softly edged lip. Keep the blush and lip at similar intensity so neither overwhelms the gentle finish.
One graphic eye detail
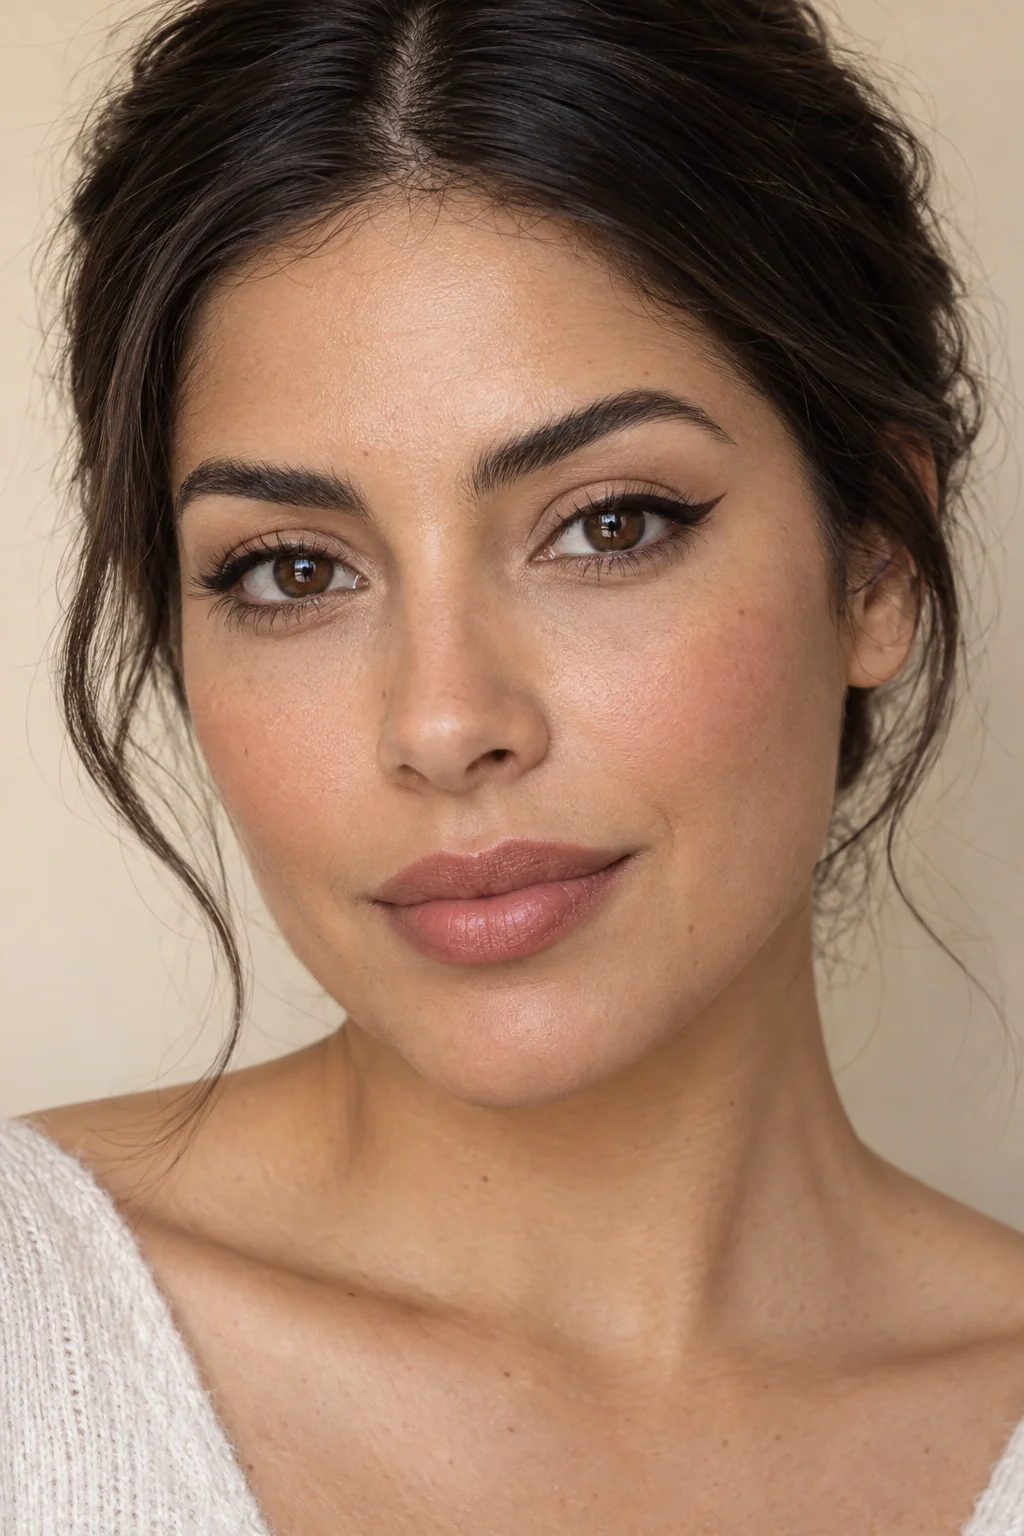
Pair a neat base and restrained cheeks with a precise outer eye line. Keep the line visible with your eyes relaxed, and adjust its length rather than forcing it to match a different eyelid. Use a quieter lip while learning the shape.
Lip-led contrast
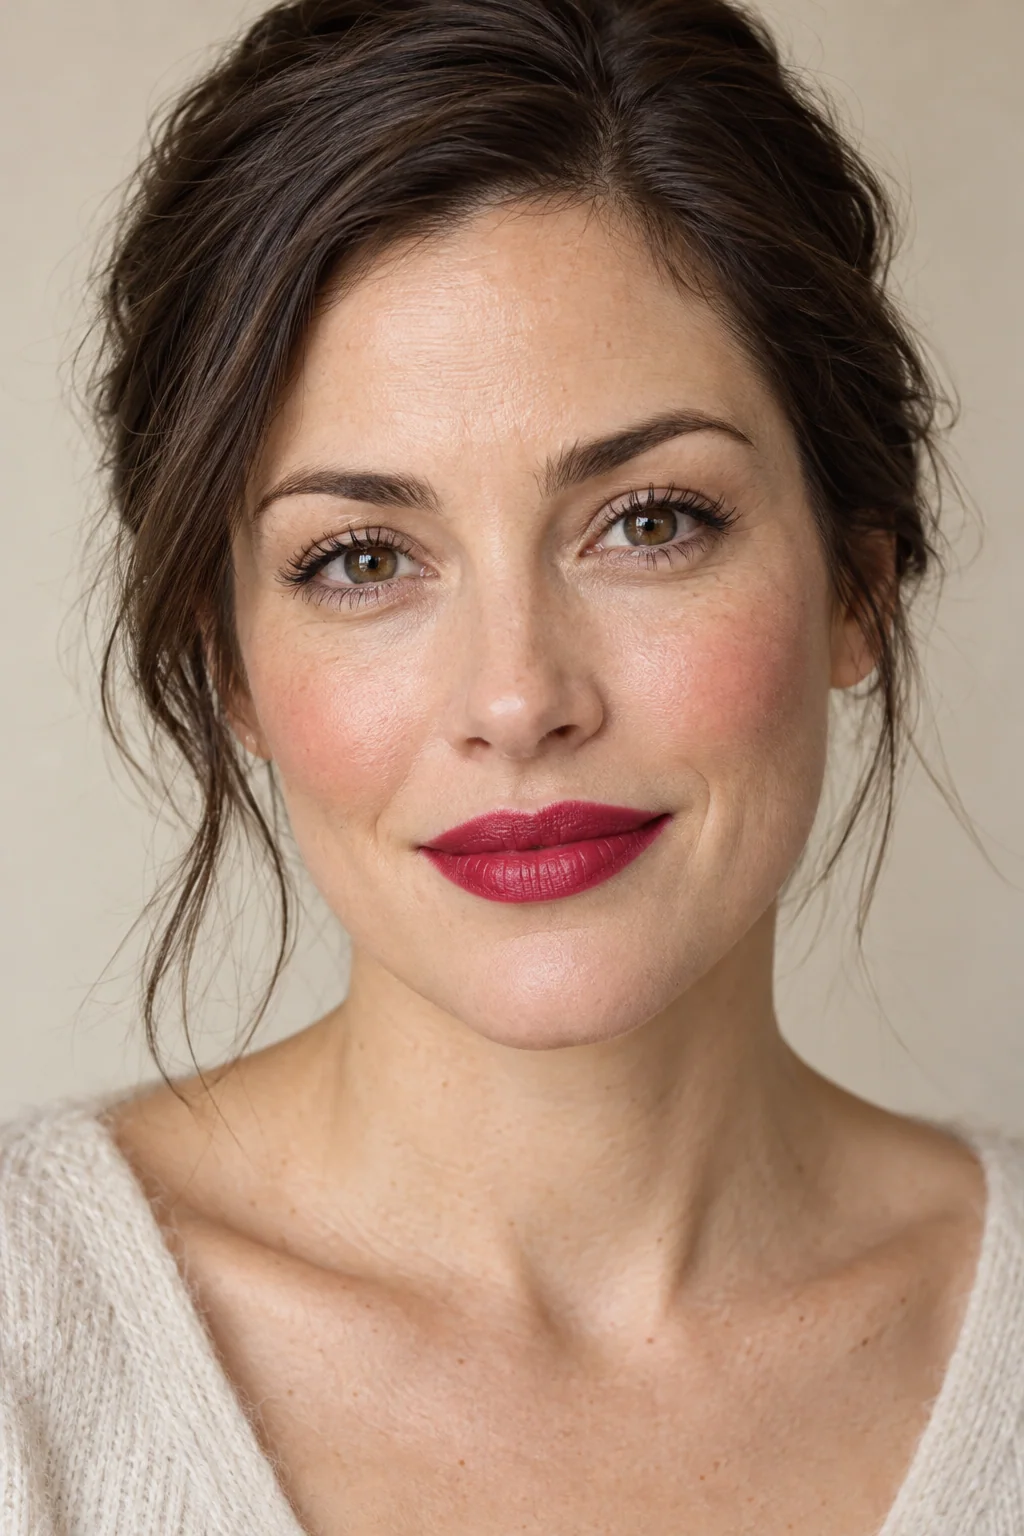
Choose a rosewood, berry or red direction you enjoy, then use a simple eye and a small amount of cheek color. Compare a stain with an opaque edge: the same hue can read very differently.
02 / UNDERSTAND & TRY
Build the look in a practical order
Begin with your normal skin preparation and a base amount that feels comfortable. Add brows lightly, then create the focal feature. Check the full face before adding more color elsewhere. A small mirror can encourage detail work without showing the overall balance.
If the result feels too intense, reduce one competing element: soften the cheek, shorten the eye line or blot the lip. Adding more foundation to neutralize every strong color can make the whole face feel heavier.
03 / UNDERSTAND & TRY
Adapt the style to your own routine
Choose the finish for the actual setting: a long workday, outdoor light or an evening event. Think about what you are willing to touch up. Glasses, a fringe and your usual clothing neckline also change which details are most visible.
For color, compare products on your own skin rather than using a model’s shade number. For placement, look with your eyes open and your face relaxed. A style reference can guide the mood while the actual proportions remain yours.
04 / UNDERSTAND & TRY
Use the right products around the eyes
Use products intended for the eye area and keep hands and tools clean. Do not share eye cosmetics; stop using a product that causes irritation. These FDA precautions apply regardless of the style you choose.
The AI makeup report can suggest focal points and color directions from a photo. It cannot test product wear, choose a guaranteed shade or preview every eyeliner shape interactively. Keep the suggestions you can reproduce comfortably.
Common questions
Can I combine a strong eye and lip?
Yes. It creates more overall intensity. Try it intentionally and check the balance in the lighting where you will wear it.
Do I need separate products for every makeup style?
Often you can change coverage, edge and placement with products you already use. Follow each product’s intended use, especially near the eyes.
Does my face have one correct makeup style?
No. You can choose different emphasis for different days. A report offers directions to try, not a permanent style category.
Related reading
YOUR NEXT STEP
Start with your own features
Sign in and submit a clear front-facing photo in even light for written makeup suggestions. Review the photo limitations and test placement and colors in person.