MAKEUP / EXPLORE & APPLY
Makeup for face shape: choose placement, not a rule
The same face can wear a soft central flush, a lifted cheek emphasis or a more sculpted outline. Decide which effect you want before drawing lines from a face-shape chart.
The quick answer
Compare placement in a mirror with your face relaxed. A high outer blush creates a different emphasis from a central flush; contour adds a temporary shadow effect rather than changing structure. Face shape is one reference alongside features, texture, lighting and taste.
01 / UNDERSTAND & TRY
Three cheek-placement options
Compare central blush, higher outer blush and subtle contour in these makeup photos. Adjust placement to your own features.
Soft central blush
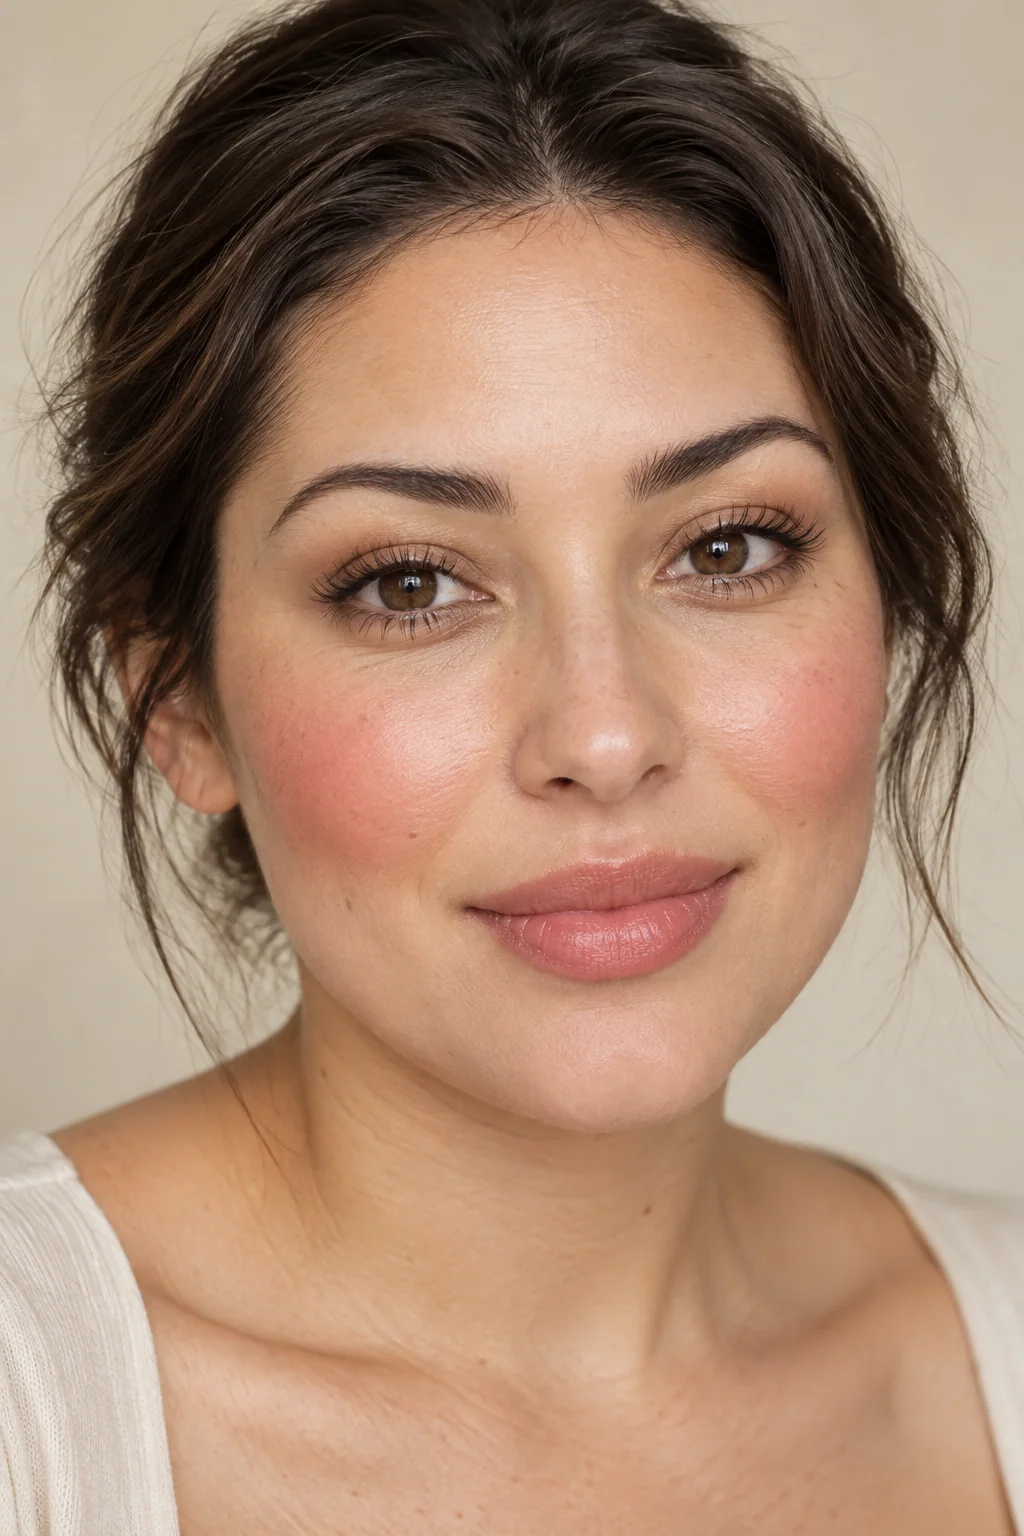
Keep a light wash on the fuller cheek area, then soften the edge. This makes the flush the main feature. Relax your face after smiling to check that the color does not settle lower than you intended.
Higher outer emphasis
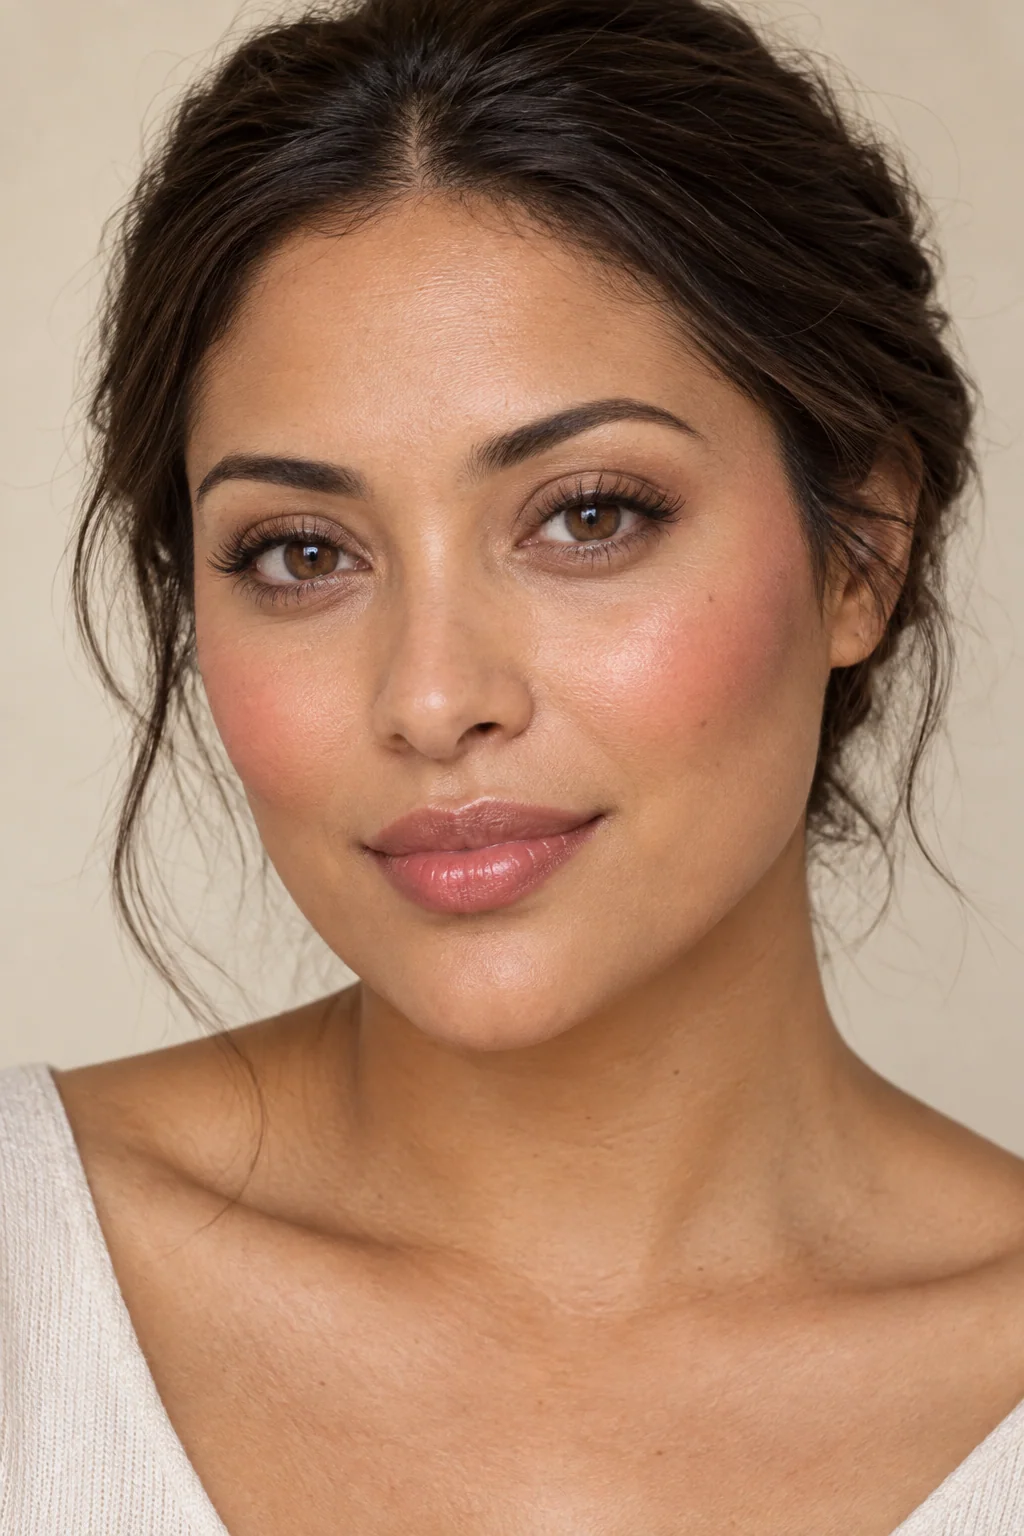
Place a small amount toward the outer cheek and blend along the cheekbone. This directs attention outward and upward. Keep the inner edge light instead of covering the whole cheek with a dense stripe.
Subtle shadow definition
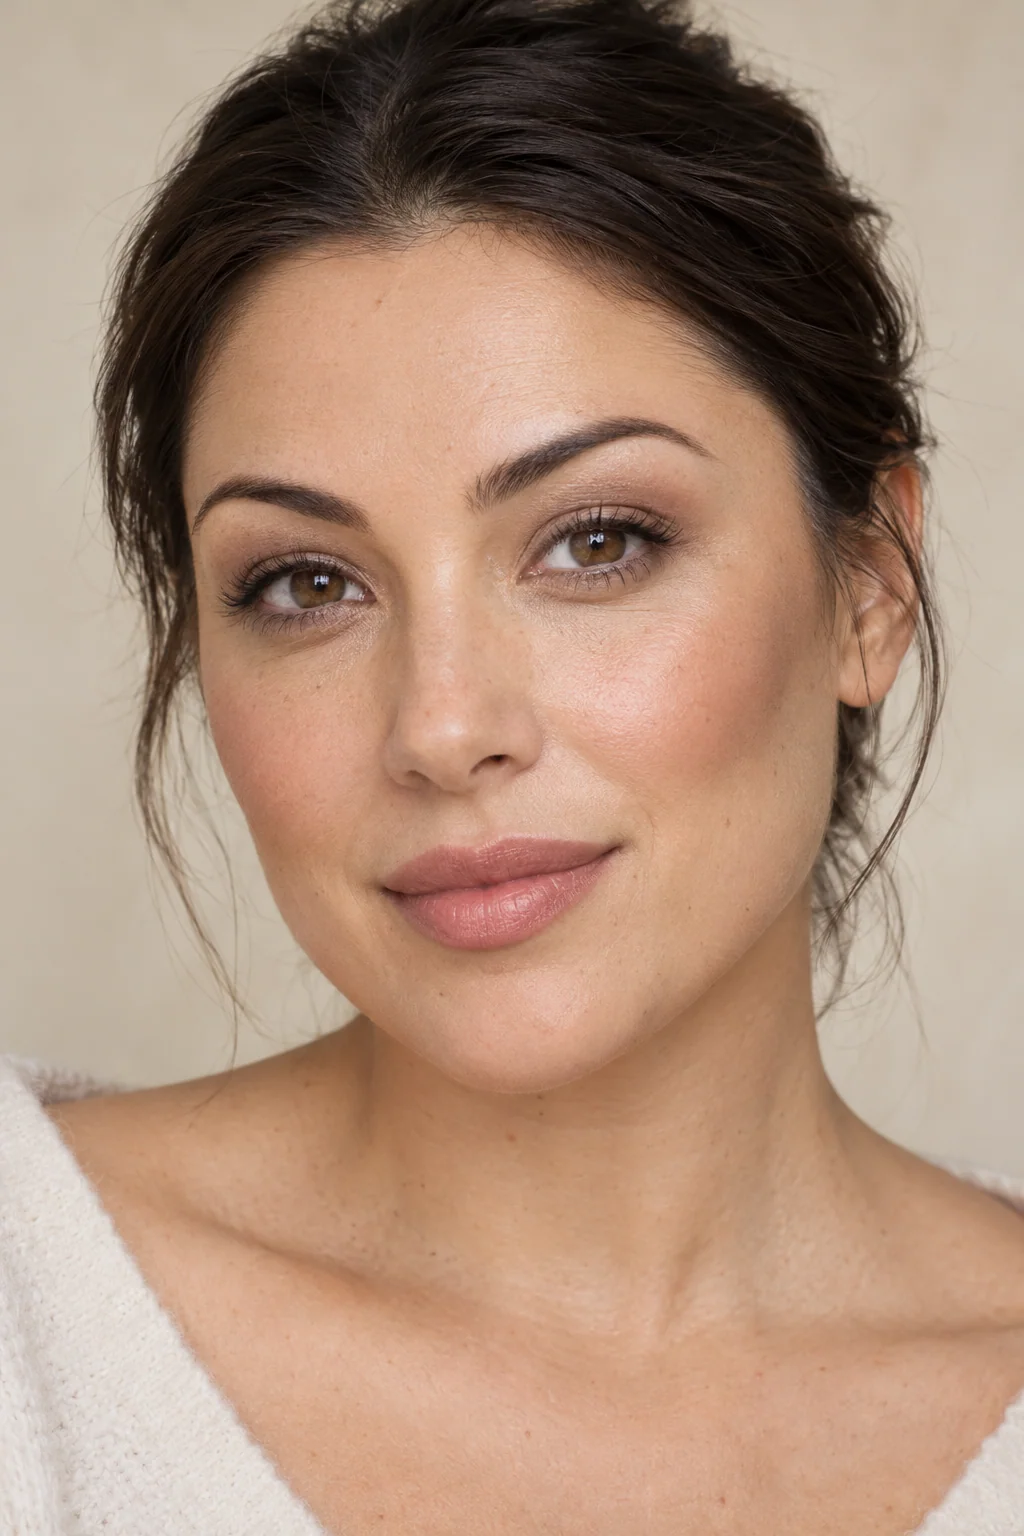
Use a muted shadow-like tone below the cheekbone only where you want definition. Start sheer and check in daylight. A warm bronzer adds a different color effect and does not need to serve as contour.
02 / UNDERSTAND & TRY
A simple contour walkthrough for a round face
You can enjoy a rounded outline as it is. If you want a little more shadow definition, test one side lightly before applying a full face of contour. Use a mirror at eye level and steady, even lighting.
- Start with a thin, settled base; avoid adding contour over a slippery layer.
- Locate the cheekbone with your face relaxed. Place a small amount just below its outer part, keeping clear of the mouth area.
- Blend the upper edge gently into the cheek area and keep the lower edge diffuse. Stop adding product before a visible stripe forms.
- If desired, add a little definition near the jaw, then check from the side; do not outline every edge automatically.
- Compare in daylight. Remove excess before adding blush higher on the outer cheek if that is your preferred effect.
03 / UNDERSTAND & TRY
Adapt to features beyond the outline
On a longer-looking face you might prefer a more central blush; on an angular outline you might choose a soft edge or deliberately echo it. These are options, not corrections that every person in a category needs.
Keep brows, eyes and lips in the same conversation. A soft brow and diffused lip leave more attention on the cheeks; a crisp eye line or saturated lip competes for focus. Try changing one area first, especially if you wear glasses or a fringe.
04 / UNDERSTAND & TRY
Check the result away from the camera
Strong overhead light can create shadows that look like product placement. Filters, exposure and head angle can change the apparent face outline and contrast. A photo analysis should keep those limitations visible.
Keep the foundation depth and undertone appropriate to the skin rather than using a pale base to reshape the face. Choose lip and cheek shades by the color effect you like, and remove heavy edges before deciding that the placement itself is wrong.
Common questions
Does every round face need contour?
No. You can wear blush alone, a lip-led look or no base makeup. Contour is optional and should reflect the effect you enjoy.
Should I blend contour downward?
Keep a diffuse lower edge, but avoid carrying a dark patch toward the mouth or far below the intended shadow. Check the placement with your face relaxed.
Can a selfie determine my face shape accurately?
It can suggest visible proportions, but distance, lens, hair and pose affect them. A working description is enough to compare makeup placement.
Related reading
YOUR NEXT STEP
Start with your own features
Sign in and submit a clear front-facing photo in even light for written makeup suggestions. Review the photo limitations and test placement and colors in person.